


Please note: A Microsoft 365 license is required to complete this process. All active university students, faculty, and staff have a Microsoft 365 license. Outlook (classic) is not available for free, this application is bundled and only available via a paid Microsoft 365 license.
Ensure that you are synchronizing all of your emails in Outlook (classic)
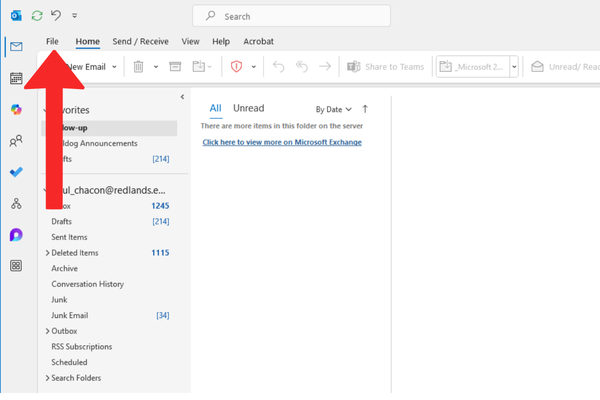
- Open up Outlook (classic) on your destop computer.
This must be done from the Outlook (classic) desktop app, the new version of Outlook and Outlook on the web (OWA) do not support the creation of PST files. If your ribbon doesn't have a File option in the top left corner, you aren't using an Outlook app installed on your computer. See What version of Outlook do I have? to find your version of Outlook and to continue with the next step. - Click on File.
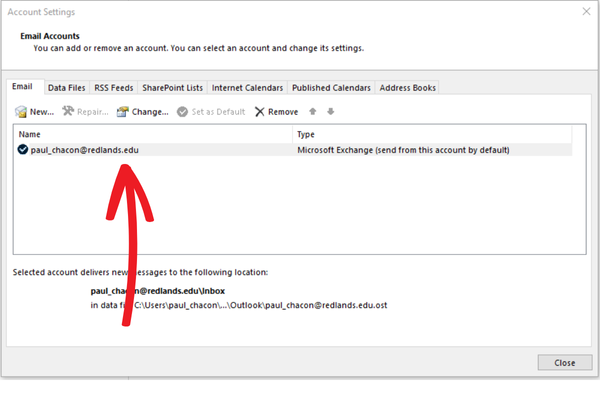
- Go to Account Settings > Account Settings.

- Double-click on your email.
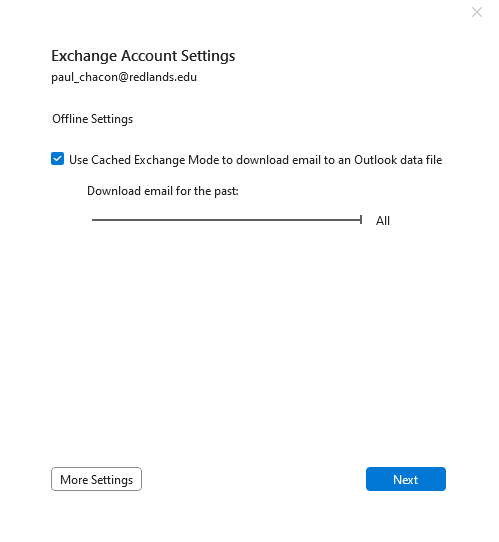
- Move the lever all the way to right untill you see 'All' and then click on Next.
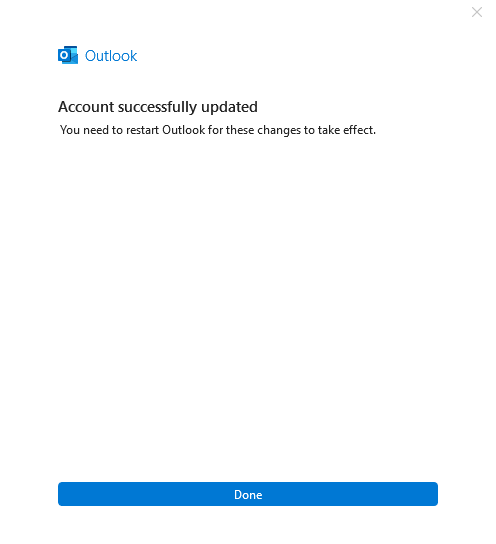
- Then click on Done and restart Outlook.
How to Export the Outlook Data File (.pst)
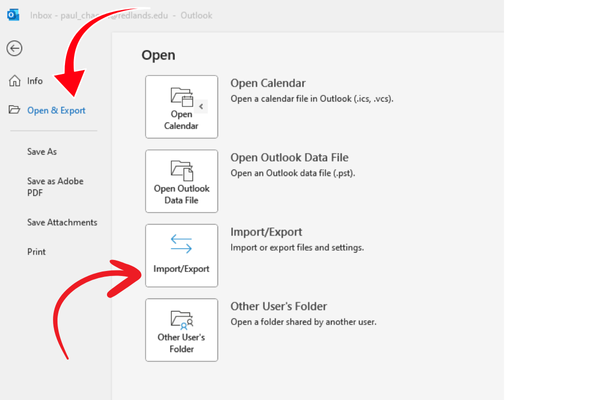
- Click on File.
- Select Open & Export > Import/Export. This starts the Import/Export wizard.
- Select Export a file, then click Next.
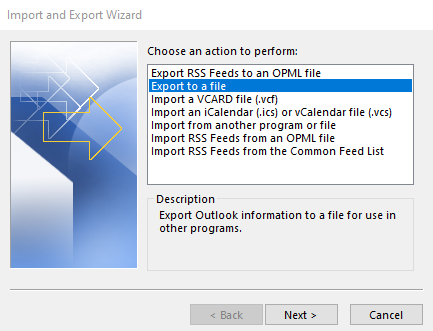
- Select Outlook Data File (.pst) and then click Next.

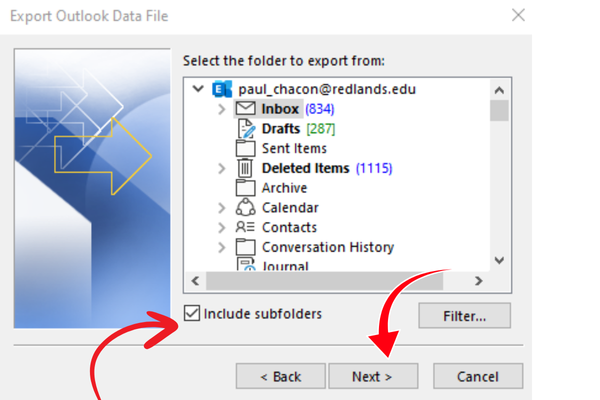
- Make sure 'Include subfolders' is selected and then click Next.
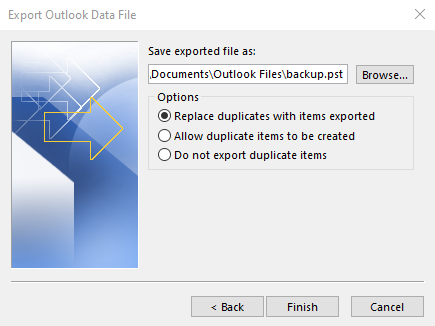
- Then browse to where you would like to save your file and click Finish.
How to Import the Outlook Data File (.pst)
- Click on File.
- Select Open & Export > Import/Export. This starts the Import/Export wizard.
- Select Import from another program or file, and then select Next.
- Browse to the .pst file you want to import and then select Next.
- If you're importing the contents of your .pst file into your Microsoft 365 mailbox, choose the mailbox, if not, choose Import items into the current folder. This will import all the data into the folder currently selected.
Microsoft offers a dedicated page with detailed, step-by-step instructions and a helpful video on how to import your PST file. Click here to visit the Microsoft support page and watch the tutorial.